Now for something a bit different — a little review with some installation tutorial built in.
First Impressions
First, a little background. We purchased a small SUV recently for use around GearGuide HQ and the nearby hills and trails. And we decided to make a few upgrades. Things like a cargo net for the rear, all weather floor mats, etc. One of those upgrades included a set of aftermarket splash guards (aka mud flaps) purchased from a reputable eBay reseller. They stated that the parts were genuine OE (manufacturers original equipment) and the price was right at about $40.
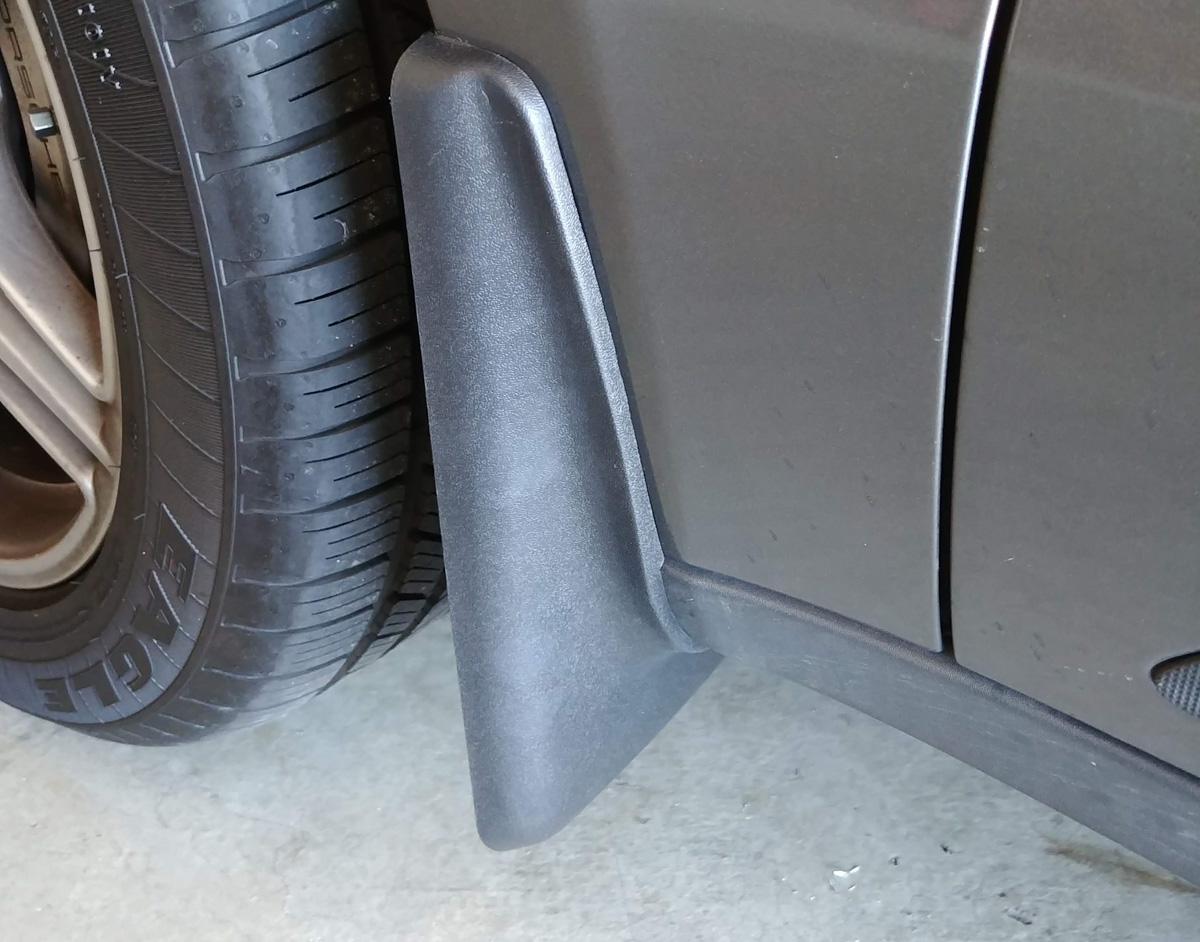
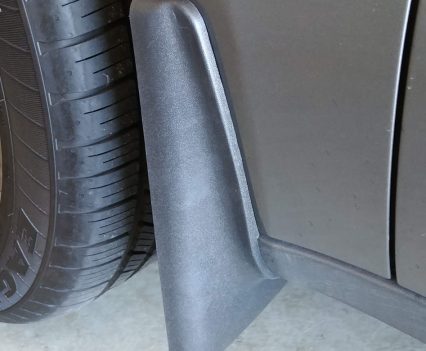
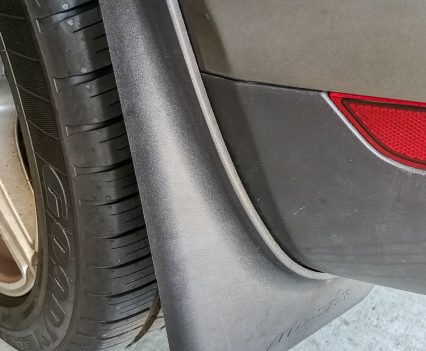
We placed the order and waited for the parts to ship from China. Just about two weeks later, they arrived via eBay’s SpeedPak shipping service, and the parts did “look the part.” Although we doubt they’re really OE, the plastics were decent. The textures reasonably matched the rest of the SUV’s trim. Fitment was also good with all the right notches and clearances needed to fit the vehicle.
So how’d they install?
Features
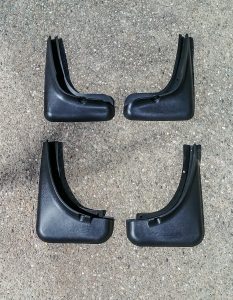
The splash guards came in a set of four, one for behind each wheel of the SUV. The reseller also included a set of mounting screws and clips. No installation instructions were provided. But upon contacting the retailer, we were told the clips were not necessary. The reseller also provided a few photos showing the installation process and hinting at a few necessary tools.
Included:
Four splash guards
Mounting screws
Step 1: Assemble the Tools
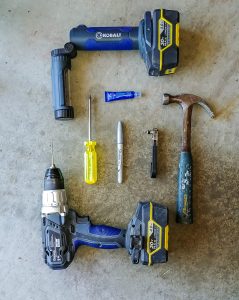
After test fitting the splash guards on our vehicle, it became clear that we needed a few tools not currently in our gear locker. These included an offset micro ratchet set capable of handling Torx bits (necessary for our SUV). We picked that up on Amazon.
In addition, we needed a Phillips screwdriver, drill, hammer, punch, Loctite, marking pen, and a decent light source. With those items in hand, we went to work.
Step 2: Front Wheels
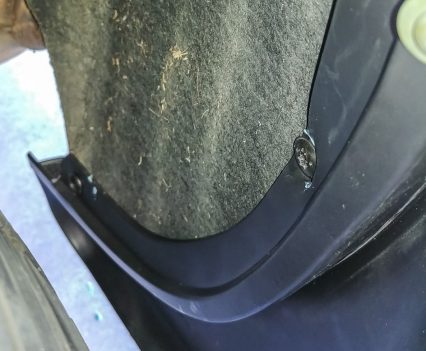
We started on the front wheels, turning them out as far as possible to give access to the wheel well. After a quick test fit — aligning the notches on the vehicle-specific splash guards with the rest of the trim on the car — we marked three holes for drilling. On our vehicle, there are no pre-existing holes or bolts that could be used for mounting the splash guards.
To start the drilling process, we used the punch and hammer, tapping lightly to create an initial indentation in the metal well to keep the bit from wandering. Then, using a bit smaller than the screw diameter, we drilled three holes into the metal wheel well and plastic trim. We then covered the included screws with Loctite and attached the new parts to the car careful to not over tighten the screws.
Step 3: Rear Wheels
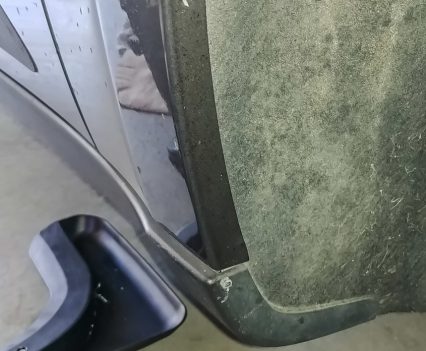
After attached the fronts, we headed to the rear of the vehicle. On ours there were two Torx head bolts in the well that are used for two of the four attach points for the rear splash guards. We removed those bolts first with the micro ratchet. We then covered those bolts with Loctite and attached the splash guards with them. From there, we drilled the final two holes for each part and fastened the splash guards with the remaining screws.
Fit
The fit and finish of these splash guards is pretty darn good. The fronts fit perfectly against the exterior of the vehicle with very little gap between the parts. The rears have a bit more gap but not significantly so. I’m not a bit fan of drilling into the vehicle to mount the parts but most of the holes (except for one on each wheel well) will not be visible should the splash guards ever need removing.
Final Verdict
For $40 we’re pretty impressed. The price was definitely right. So was the fit and finish. Time will tell how well they hold up.We’ll keep you posted on that. For now, we recommend you check them out. Find on eBay.
Thanks for reading another outdoor gear review from GearGuide.
Final Verdict | Auto Splash Guards Review and Installation
Impressive, Low-Cost Upgrade
For $40 we’re pretty impressed. The price was definitely right. So was the fit and finish.

