First Impressions
To upgrade or not to upgrade? That was the question. These days, it seems like we spend more time with tech then getting outside. That’s the penalty you pay living and working in Silicon Valley.
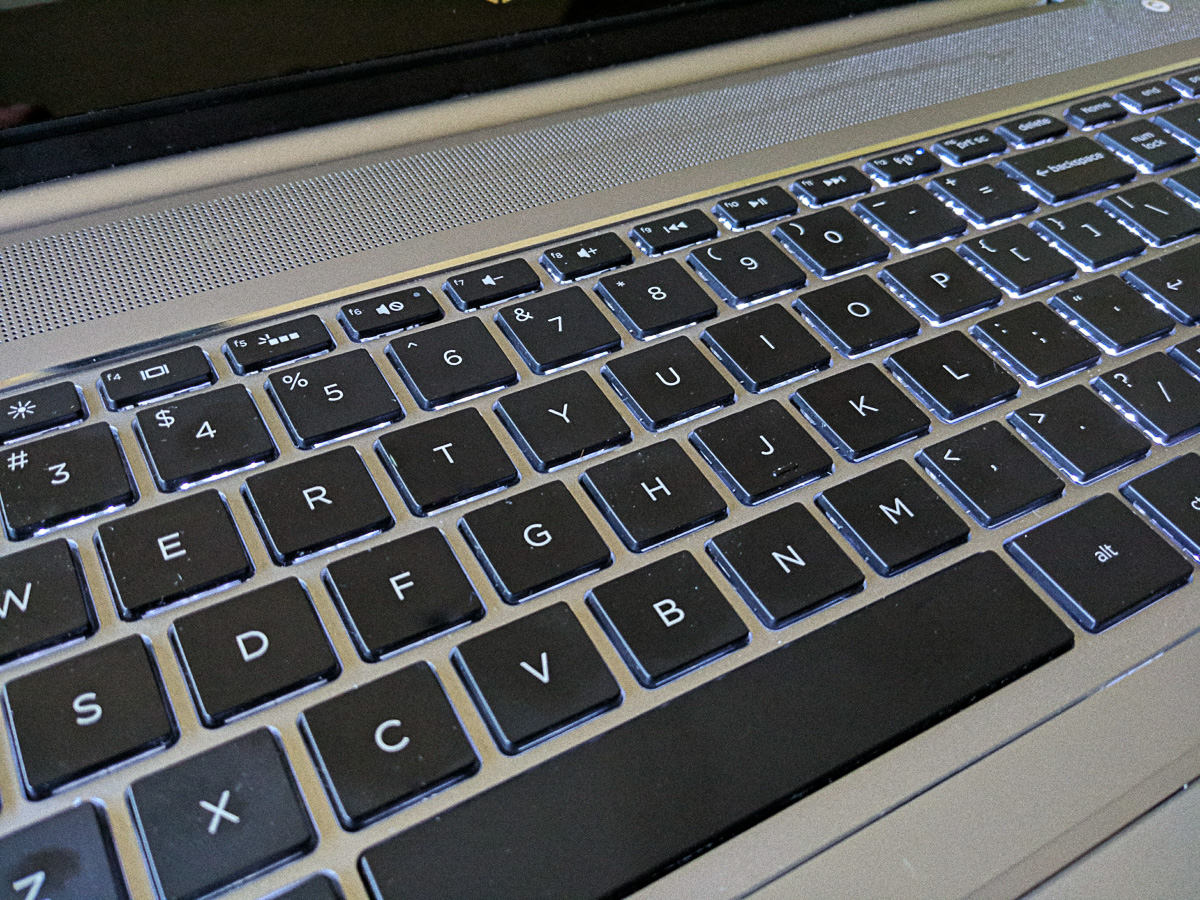
Over the past few months — instead of wholesale replacing computers — we tooks turns repairing systems and bringing them back to life. We swapped broken screens on Chromebooks. We replaced traditional hard drives on our workhorse desktop with a hybrid drive. Most recently we upgraded an aging laptop hard drive with a solid state drive or SSD for short.
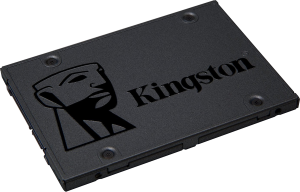
We chose the Kingston A400 240GB SSD for the task. It’s a mid-priced unit coming in at under $70. And wow, were we impressed with how it changed the performance of our target laptop, a 15.6-inch HP Envy.
Features
The Kingston A400 family of drives comes in three flavors, 120, 240 and 480 megabyte (MB) capacities. We liked the fast read speeds of up to 500MB/second and write speeds approaching 350MB/second. We chose the 240MB version to replace a larger-than-needed 750MB 2.5-inch hard drive.
Specs
Capacity: 240MB
Weight: 41g
Read Speed: Up to 500MB/second
Write Speed: Up to 350MB/second
Interface: SATA 3
We purchased the Kingston A400 drive from Amazon for about $67.
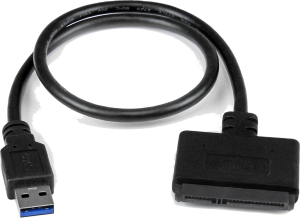
We also purchased a StarTech USB to SATA cable for $12. The cable allows you to connect the internal drive to the laptop before installation. That way you can clone the existing drive’s contents straight onto the new SDD and avoid re-installing your OS and all your other software onto the new drive — a huge time saver.
In addition to the hardware from Amazon, the installation process required the use of two free pieces of software. The first, EaseUS Partition Manager, allowed us to shrink storage partitions on the existing 750MB drive small enough to move onto the new 240MB drive. If your new drive is the same size or smaller than the drive you’re replacing this software isn’t really necessary.
The second piece of software is Macrium Reflect. It also comes in a free version, and does the disk cloning for you with just a few clicks.
Fit / Function
The process of cloning and installing the new SDD is pretty straightforward and there are many Youtube videos and other resources to help you through the process. For us, we followed this steps:
- Install the above mentioned software tools.
- Use EaseUS Partition Manager to shrink the partitions. Use the tool’s Resize/Move Partition function to select the partition to shrink, drag the yellow handles to resize, hit Apply and watch Partition Manager do its thing, rebooting as necessary in the process.
- Grab your new SSD and the SATA to USB cable. Plug your drive into the SATA side and the USB into the laptop. The laptop should recognize the drive almost immediately.
- Fire up Macrium Reflect. You should see two drives, the old hard drive and the new SSD. You can select Clone Disk to copy all the content over. Or you can drag just the partitions you want to copy onto the SSD. Follow the onscreen steps to finish the process.
Depending on the size of your drive, the process could take several hours.
Once the drive cloning process is complete, disconnect the USB to SATA cable from both the PC and SSD. Shutdown the PC and disconnect it from power. Remove the screws holding the bottom cover, remove the screws holding the old hard drive in place (and any associated mounting rails). Then disconnect the hard drive from the internal SATA cable.
Once the old drive is removed, attached the rails to the new SSD, and attach the SSD to the laptop using the same screws. Connect the SATA cable to the SSD, replace the bottom cover. Reattach the power cable. Press the power button and be prepared to be impressed. The laptop should boot in seconds vs. the minutes it took with the old hard drive.
Final Verdict
We couldn’t be happier with this upgrade. The steps can seem daunting and unfamiliar but don’t be deterred. It’s actually far easier than you think. If you have an old laptop that you’d like to revive, upgrading to an SSD like the Kingston A400 is definitely worth exploring. We’re certainly glad we did.

